Blocking a knitting project

Hello!
So I had just casted off this scarf I have been knitting and I realized the time to do my first blocking had come.
This reveals that I haven’t quite finished many projects before and that is true ahah
Apparently “ blocking “ is a term that seems to scare young knitters and I understand. Not that the process is complicated: it’s just… You‘ve put so much time into a project and when it’s FINALLY finished…it isn’t anymore? And we STILL need to wait for it to dry!? It‘s a patience test, surely.
About my garment

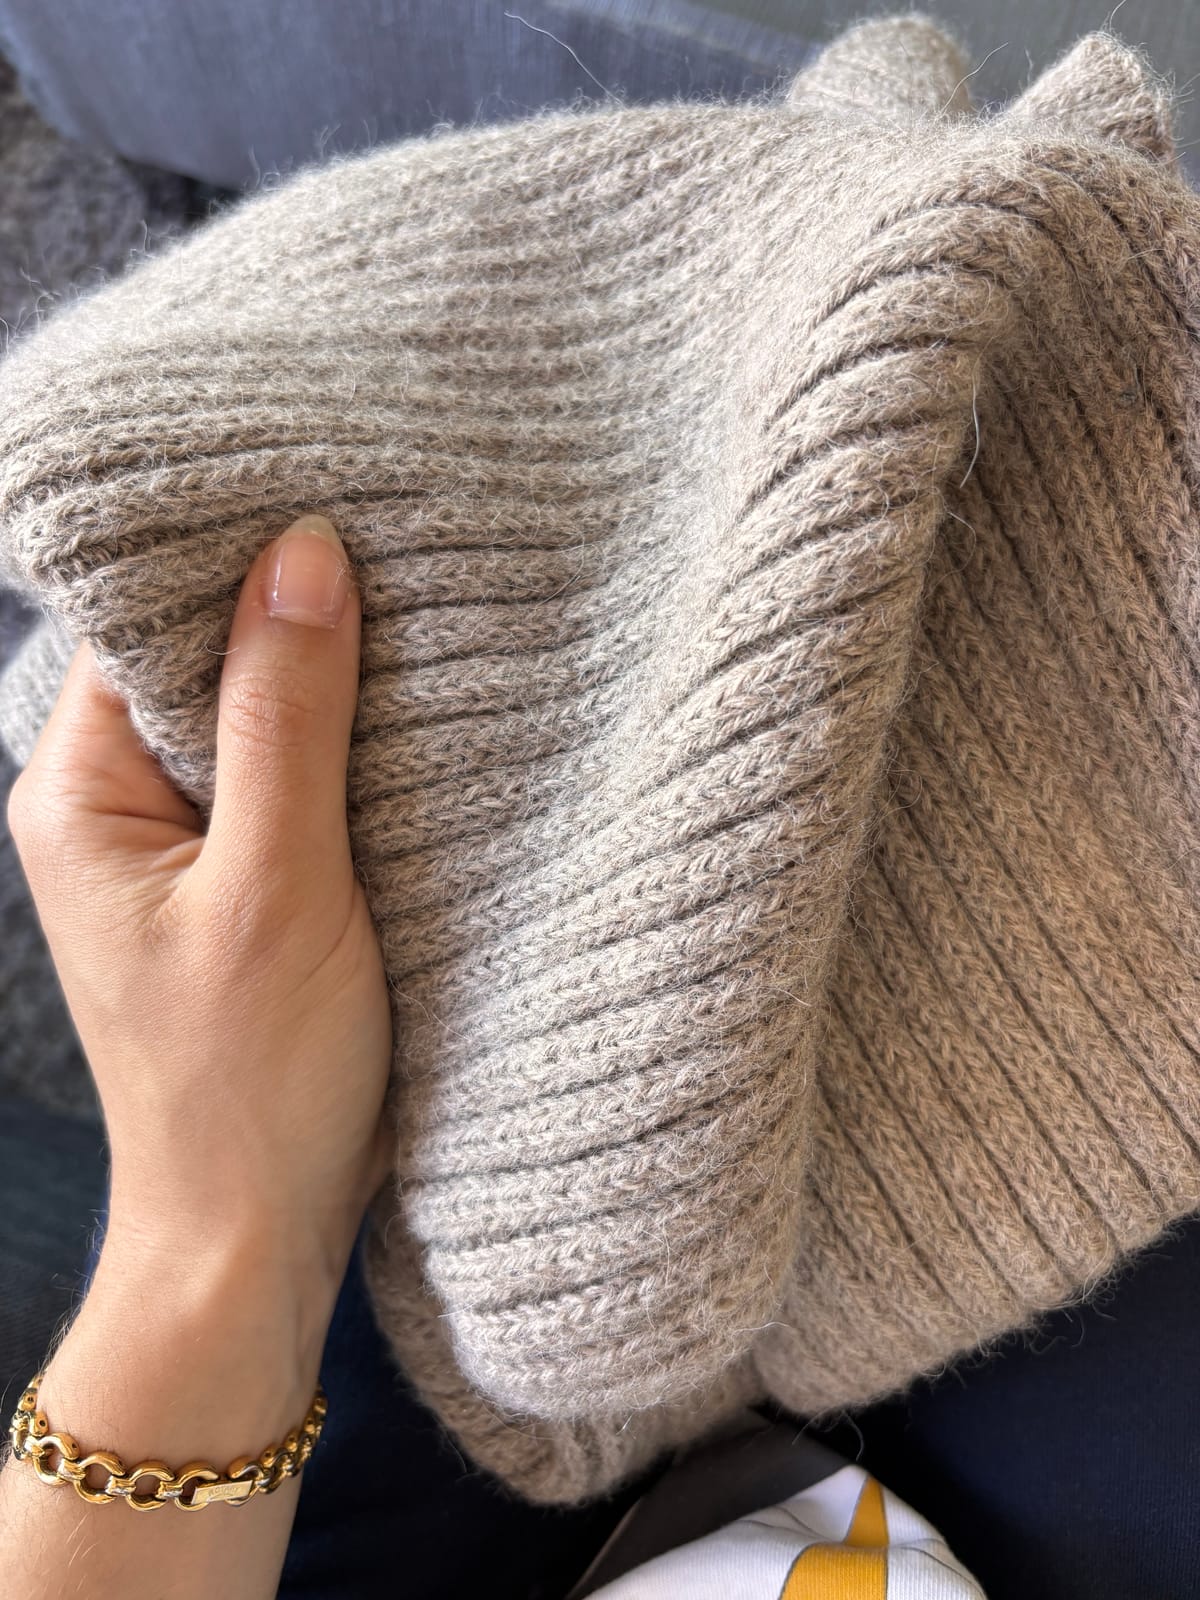
I decided to jump into a simple adventure and knit a scarf without a pattern and used, what I considered, the best yarn in my stash. This amazingly soft yarn I got in second hand: DROPS PUNA which is 100% alpaca.
Note to self: pattern free adventures might bite you in the ass!
As soon as I finished I realized how short the garment ended up being: just long enough to throw one half of the scarf over the shoulder.
AND
I knitted in double ribbing which, for the width that I like scarfs (LARGE), consumed all the yarn at an early length.
AAND
Had I known alpaca was a heavier yarn I would’ve considered another one. Or another stitch that doesn’t naturally retract.
AAAND
Every time I brought the scarf to my neck, even though it was soft, it itched. Which made me pray for my partner to use it always with a turtle neck 😂.
Luckily, I read that blocking stretches the garments and that was all I needed. So hands to work!
Uh oh.. no blocking equipment. What do I do?
True, not even a steamy iron because that feature of my travel sized and only iron decided to break.
I found this blog post that was VERY HELPFUL and had a nice time reading it.
I like the way the blogger writes.
Since I was doing this for the 1st time and with no equipment, which is probably many people’s situation, I decided to document it.
And my biggest problem was: where do I lay it flat? Can I hang it on the hanger?
I checked the yarn details on their official website and they clearly state “dry it flat” but yours might be different. Even though if you dry it hanging it will stretch the stitches in a way we don’t want, throwing out the window all the work you put into having the right tension according to you gage swatch. Did you make a gage swatch? Hum? :D
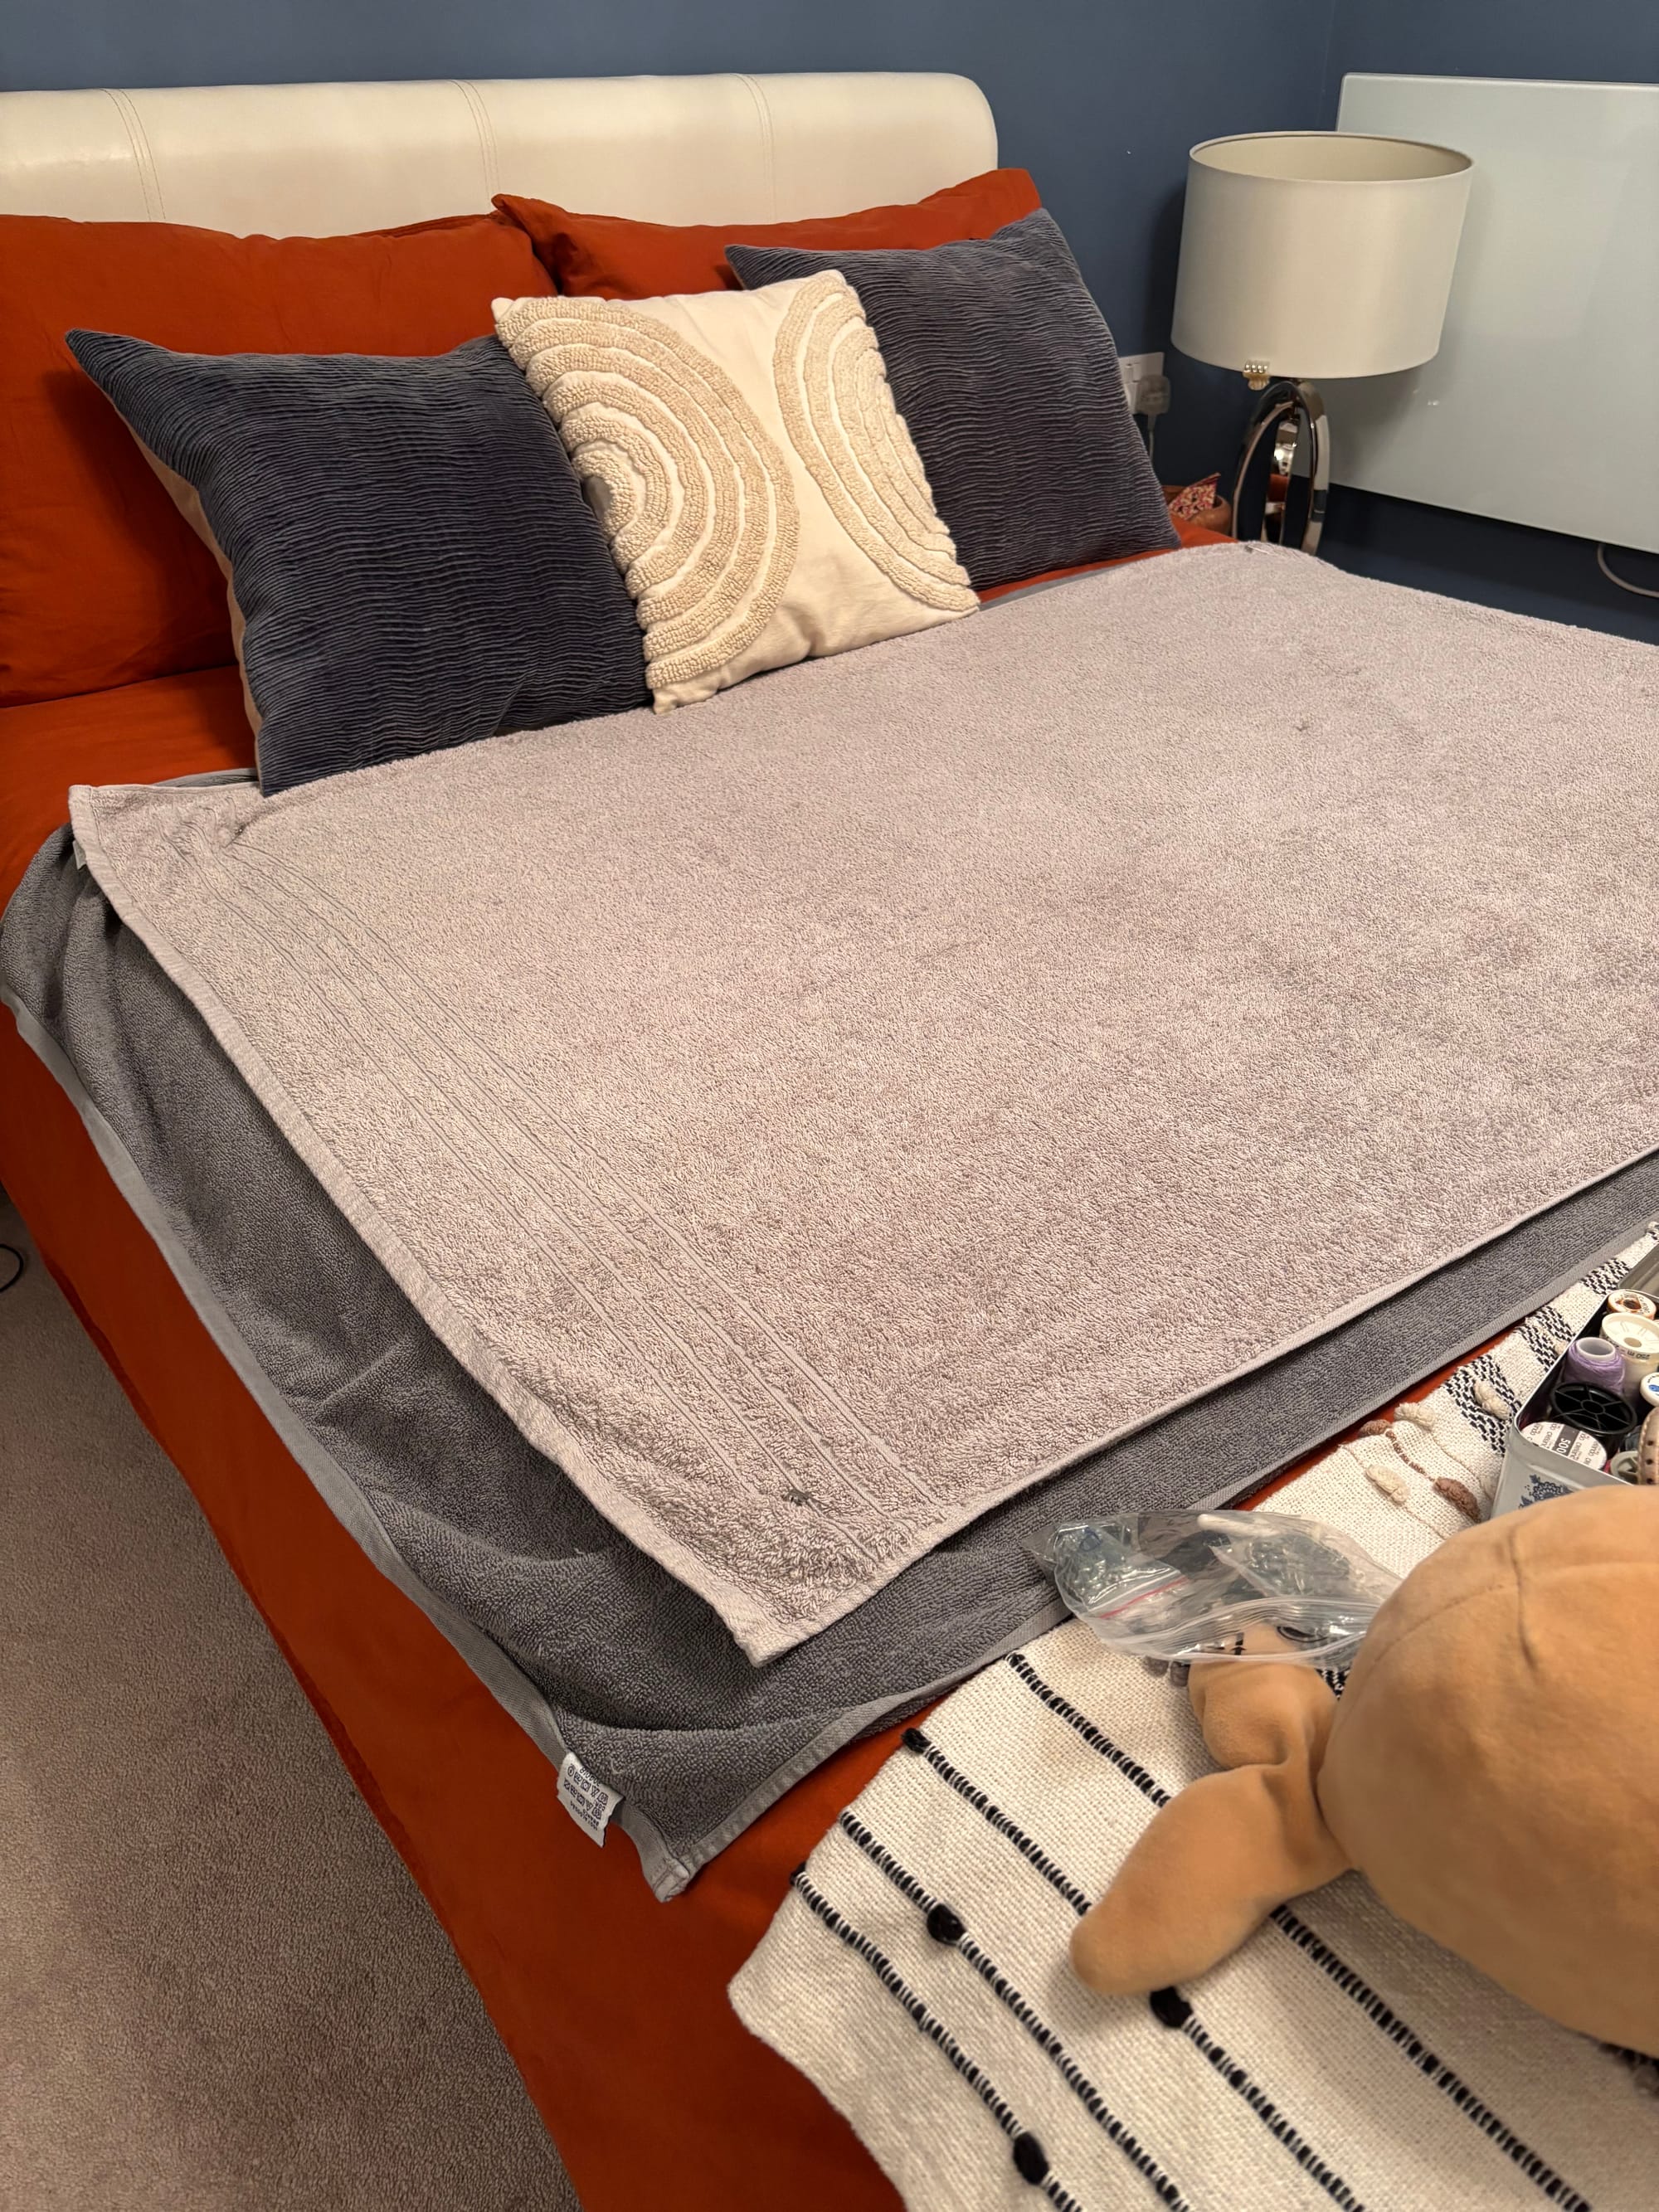
So the only good options were: the floor (not using pins but vase pots to hold the towels underneath in place), carpeted floor (where you can use pins), an iron board (which is probably not long enough) and the bed.
I decided to use the bed because it has plenty of space and I can put the pins wherever.
When I went to sleep I had to change it to the floor, which is carpeted, allowing me to put the pins still. So it ended up being the same.
Handwashing
I knitted this scarft mostly at work and every time I’d lay it on my legs the yarn would leave hair on my clothes. It was funny when I hand washed it because my hands were full of wet hair!
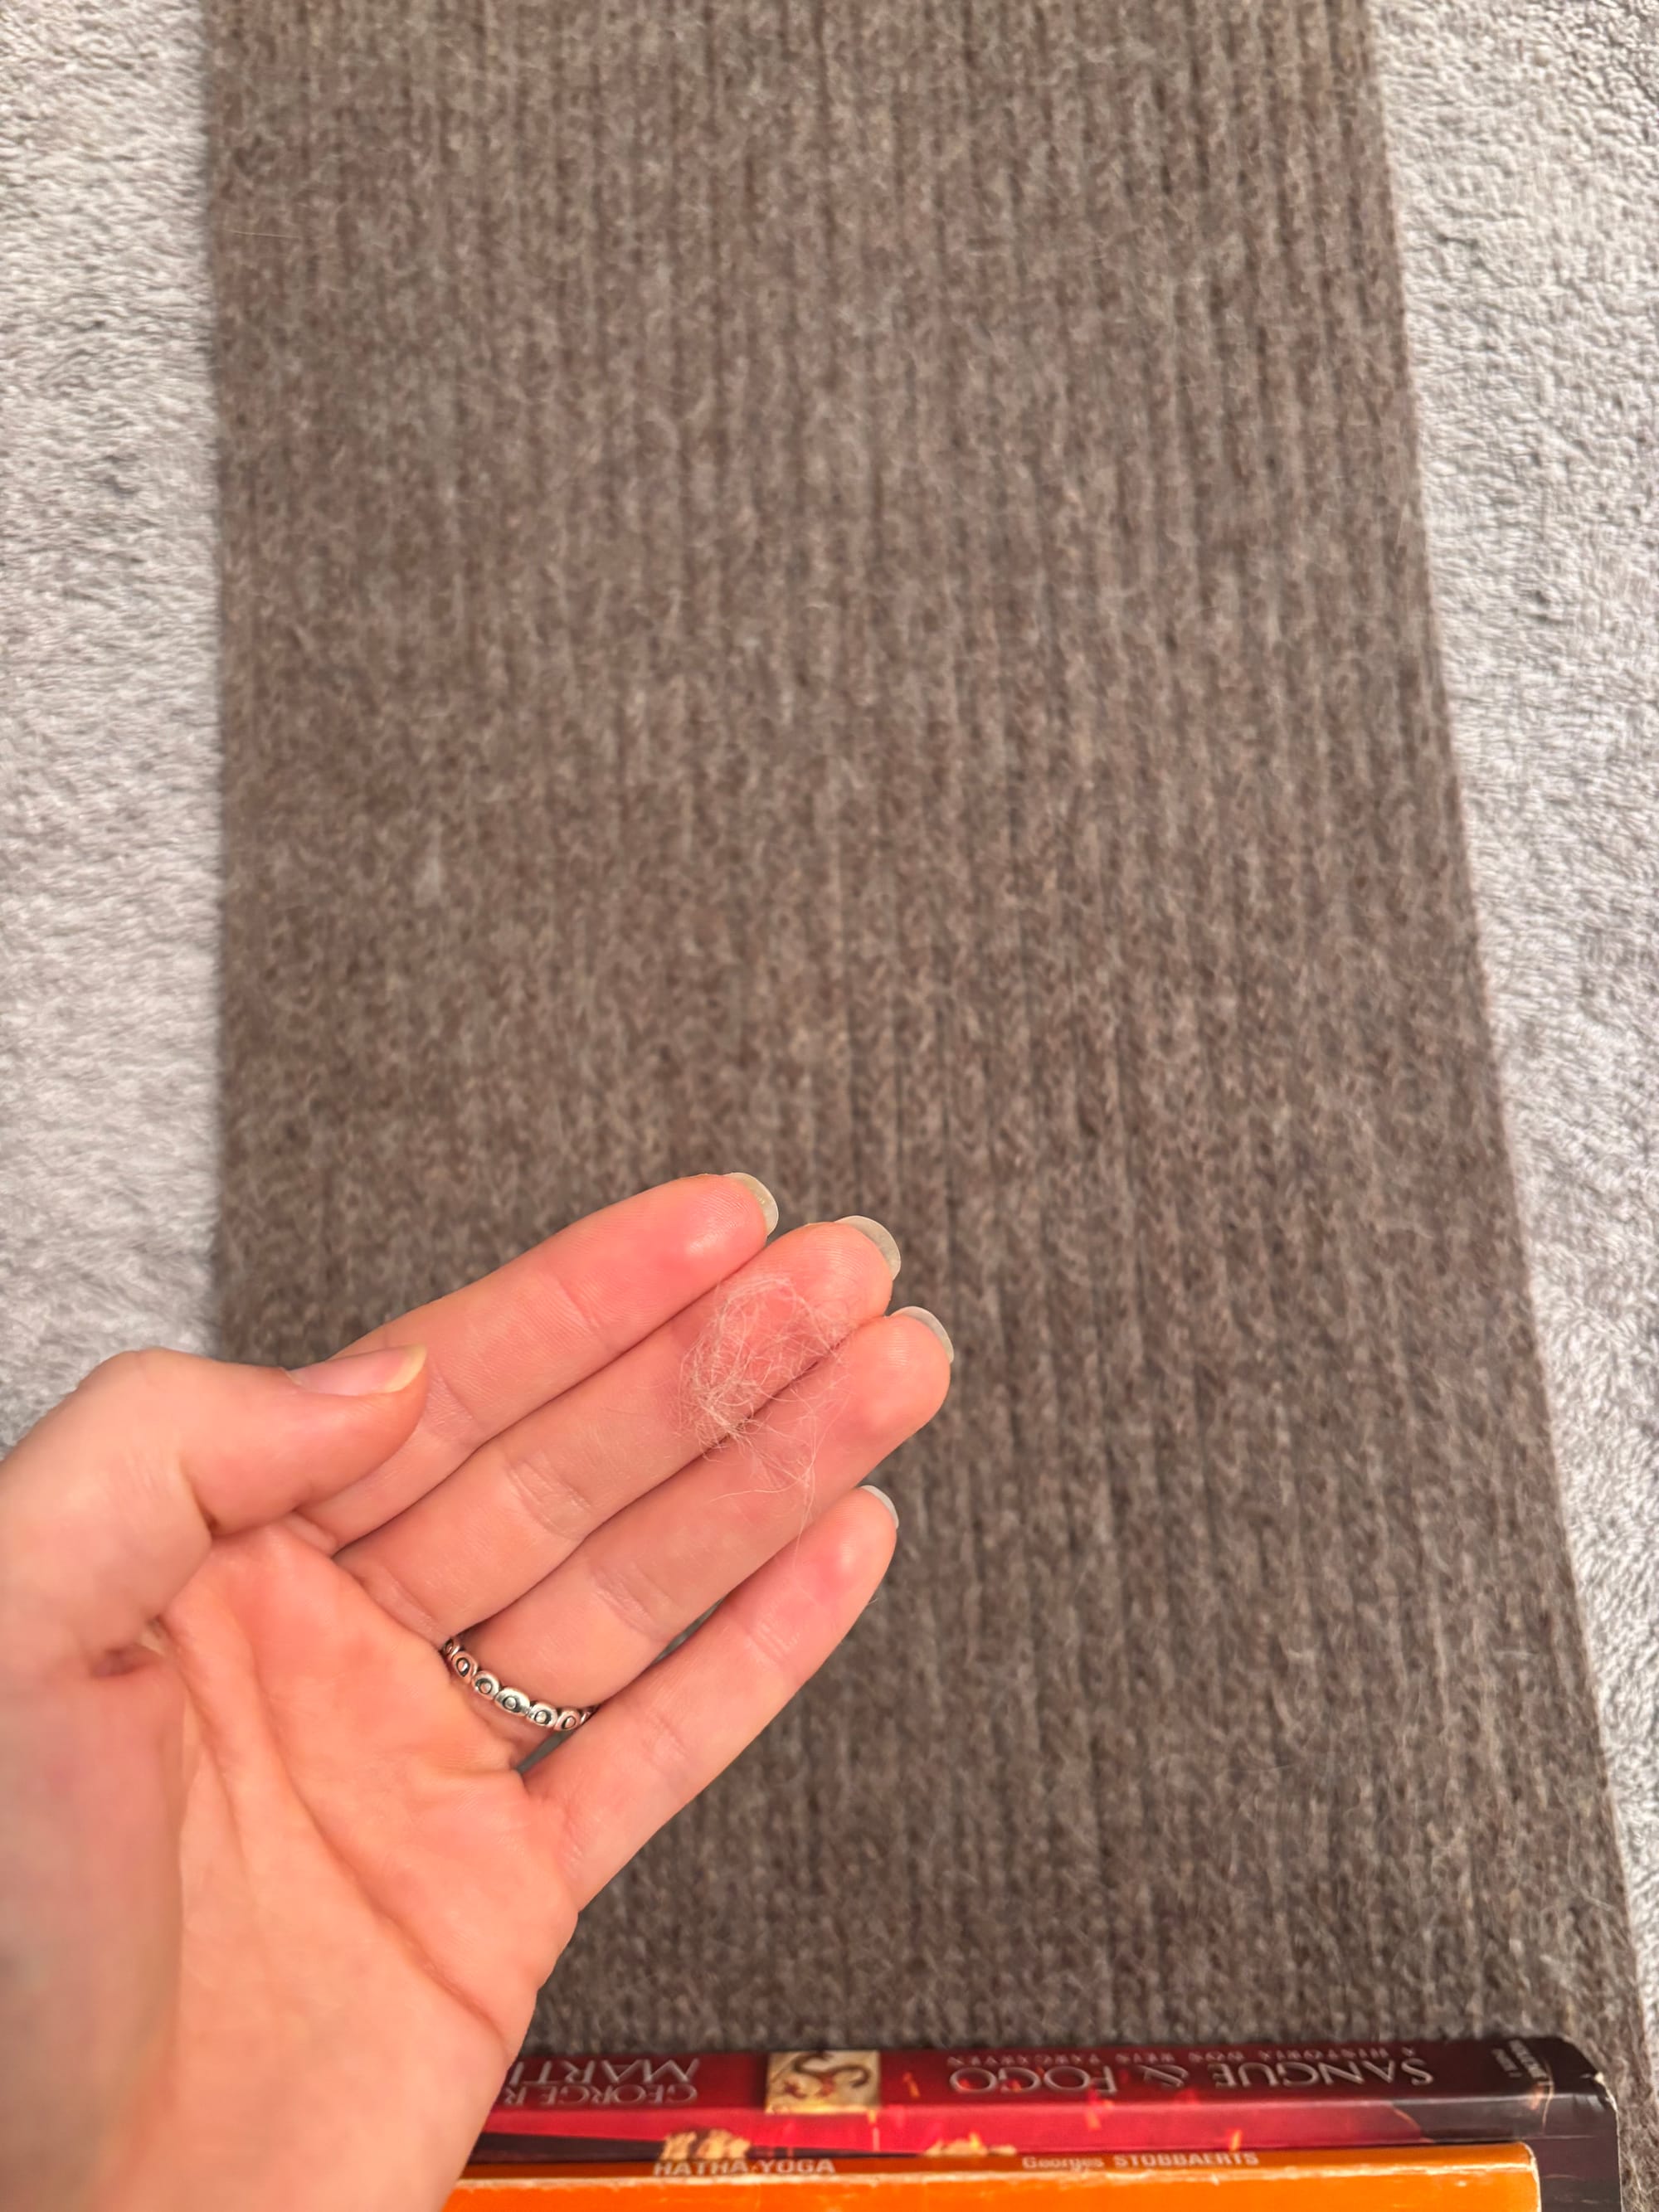
I read on the Drop’s website that this yarn isn’t exposed to any chemicals and is only washed. The funny smell the yarn had when I soaked it confirmed that. It smelled just like my dog when she plays in the rain! I couldn’t avoid laughing in the moment my mind made the connection.
I put some detergent on the garment and, seconds after, I read “dissolve in water before using “ - which I did on the second step of the “lavender smelling dog” mission.
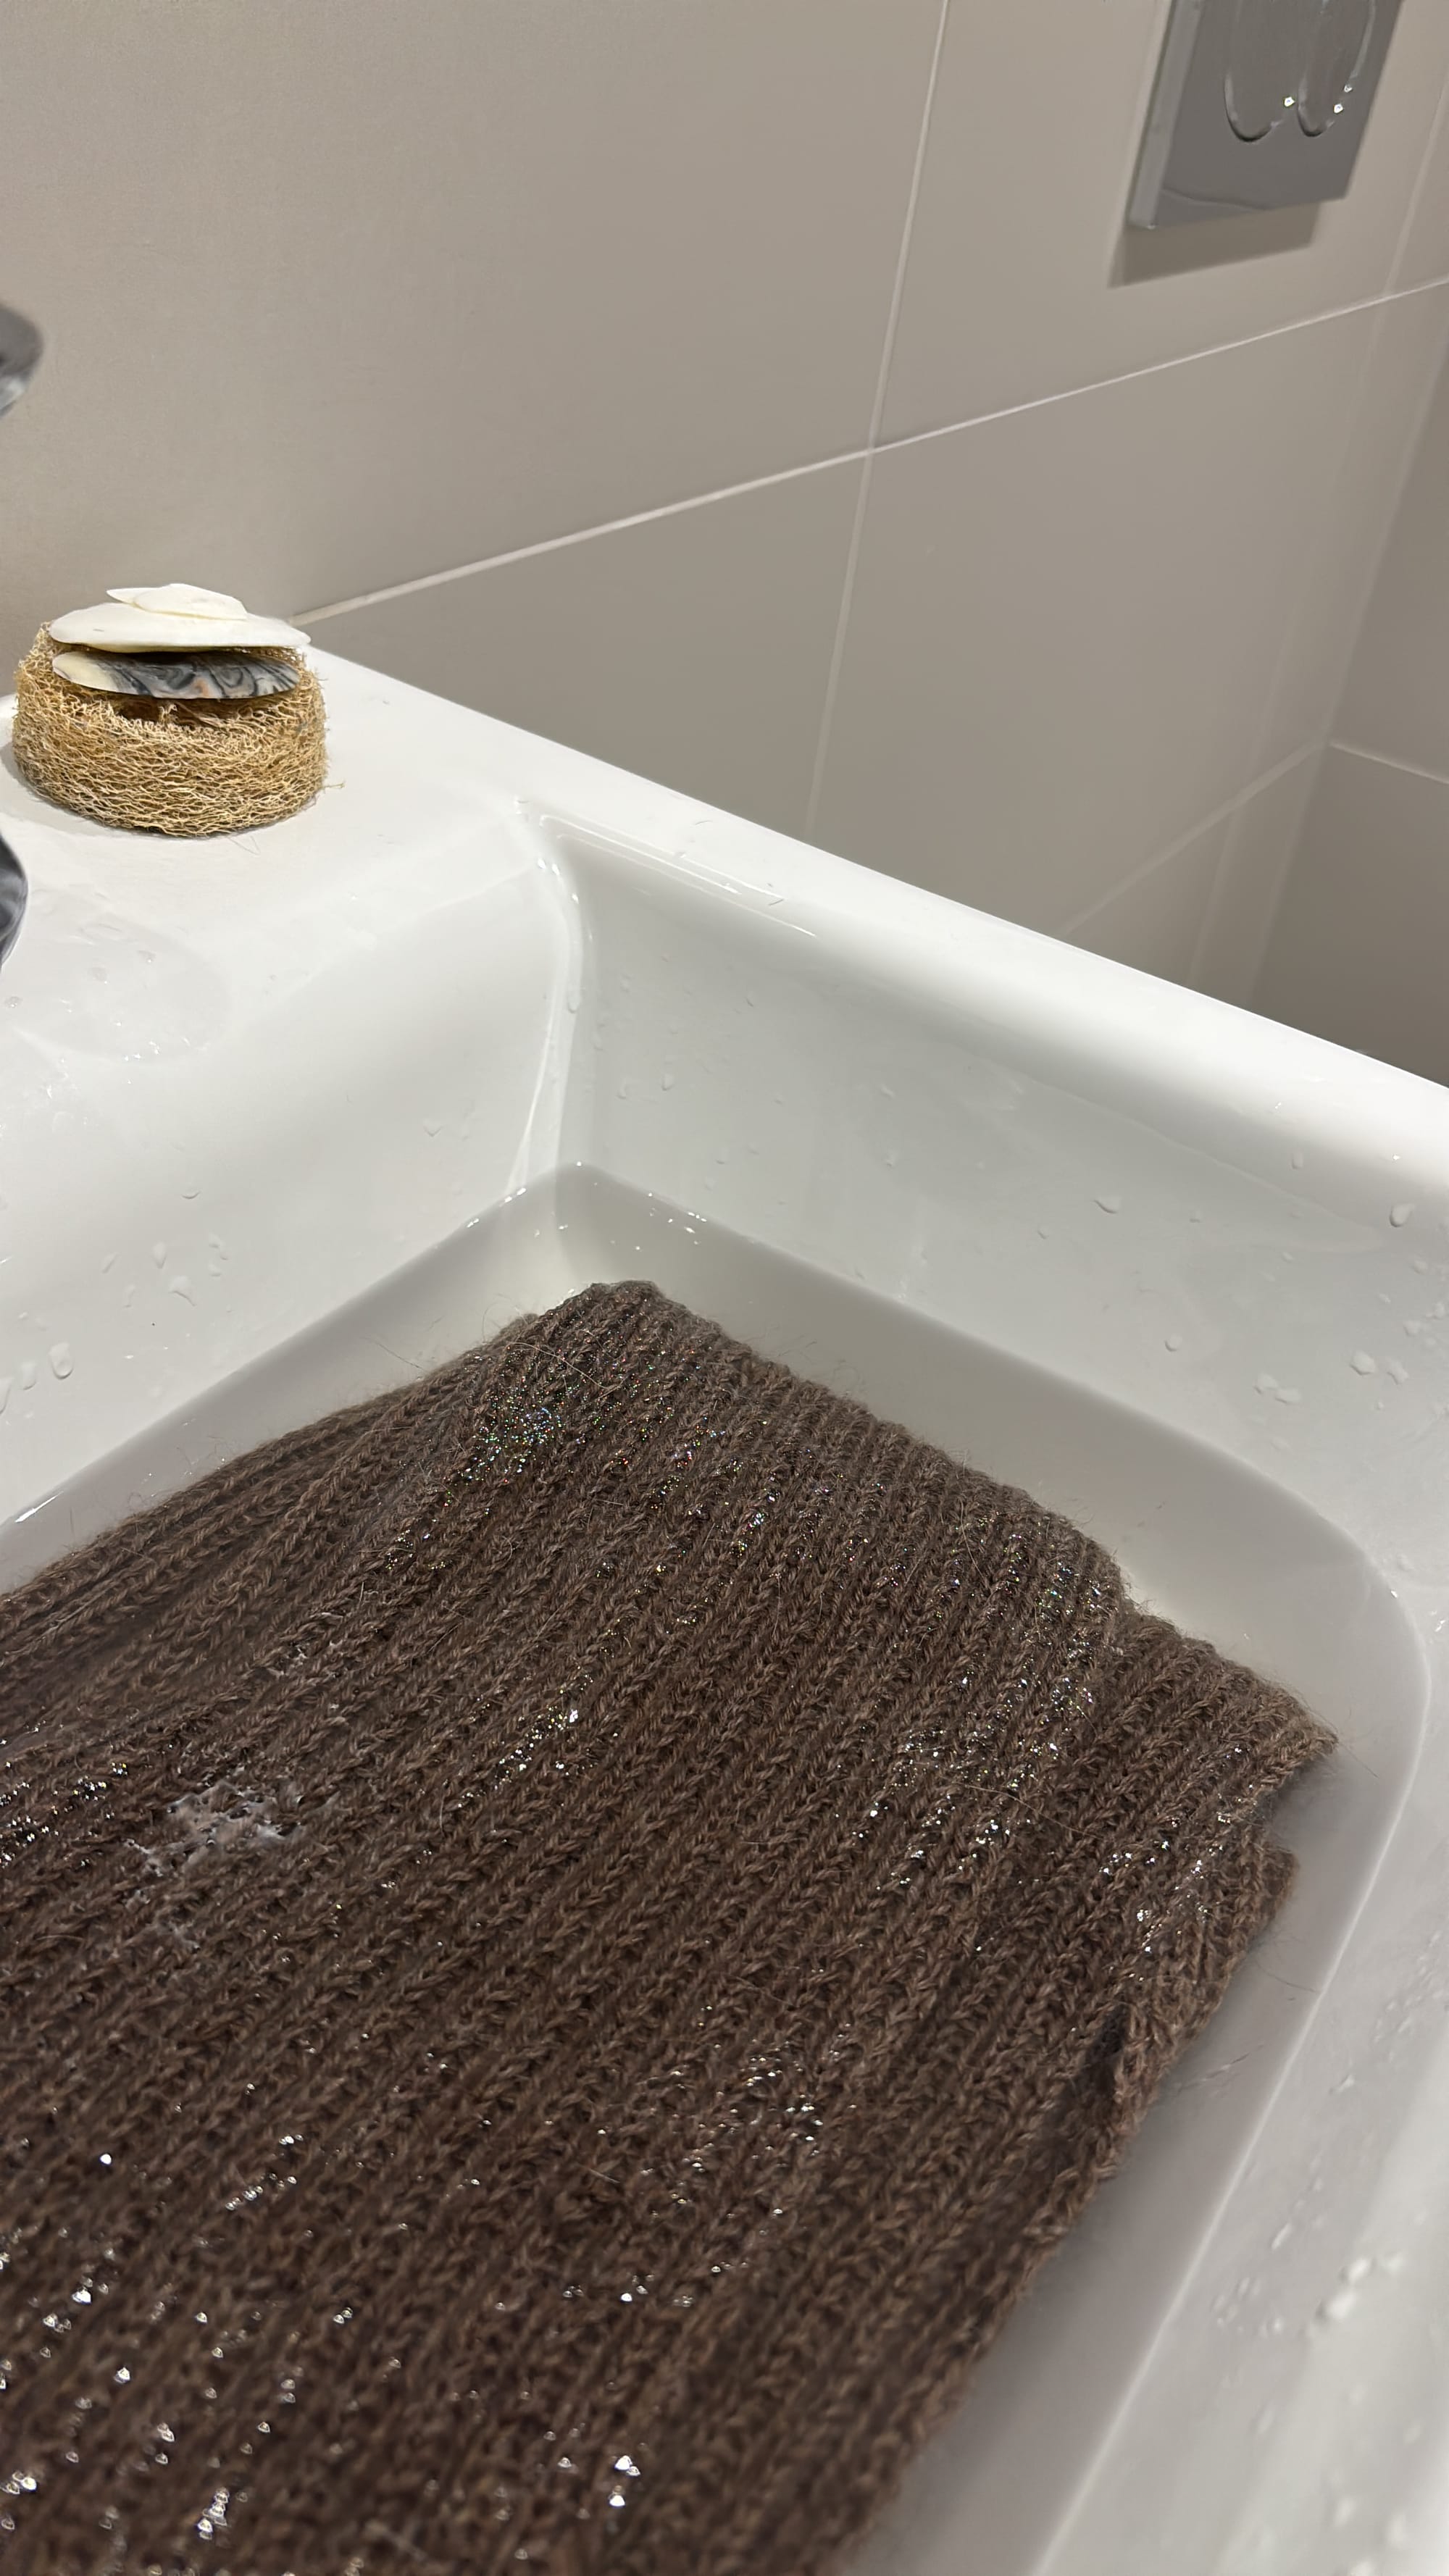
I noticed the colour of the scarf transfered to the water only when the laundry detergent was added (even though it had been soaking for 20min prior to that). That happened again on the second round.
The garment felt crisp so I added fabric conditioner to soften it and give it a nice smell and left it there for…. Well, for the time it took me to cook dinner 😂 after all, the longer the better.
And there we were, ready to drain the water and squeeze the scarf. Remember SQUEEZE SQUEEZE SQUEEZE, DON’T TWIST. Twisting will mess with the stitches.
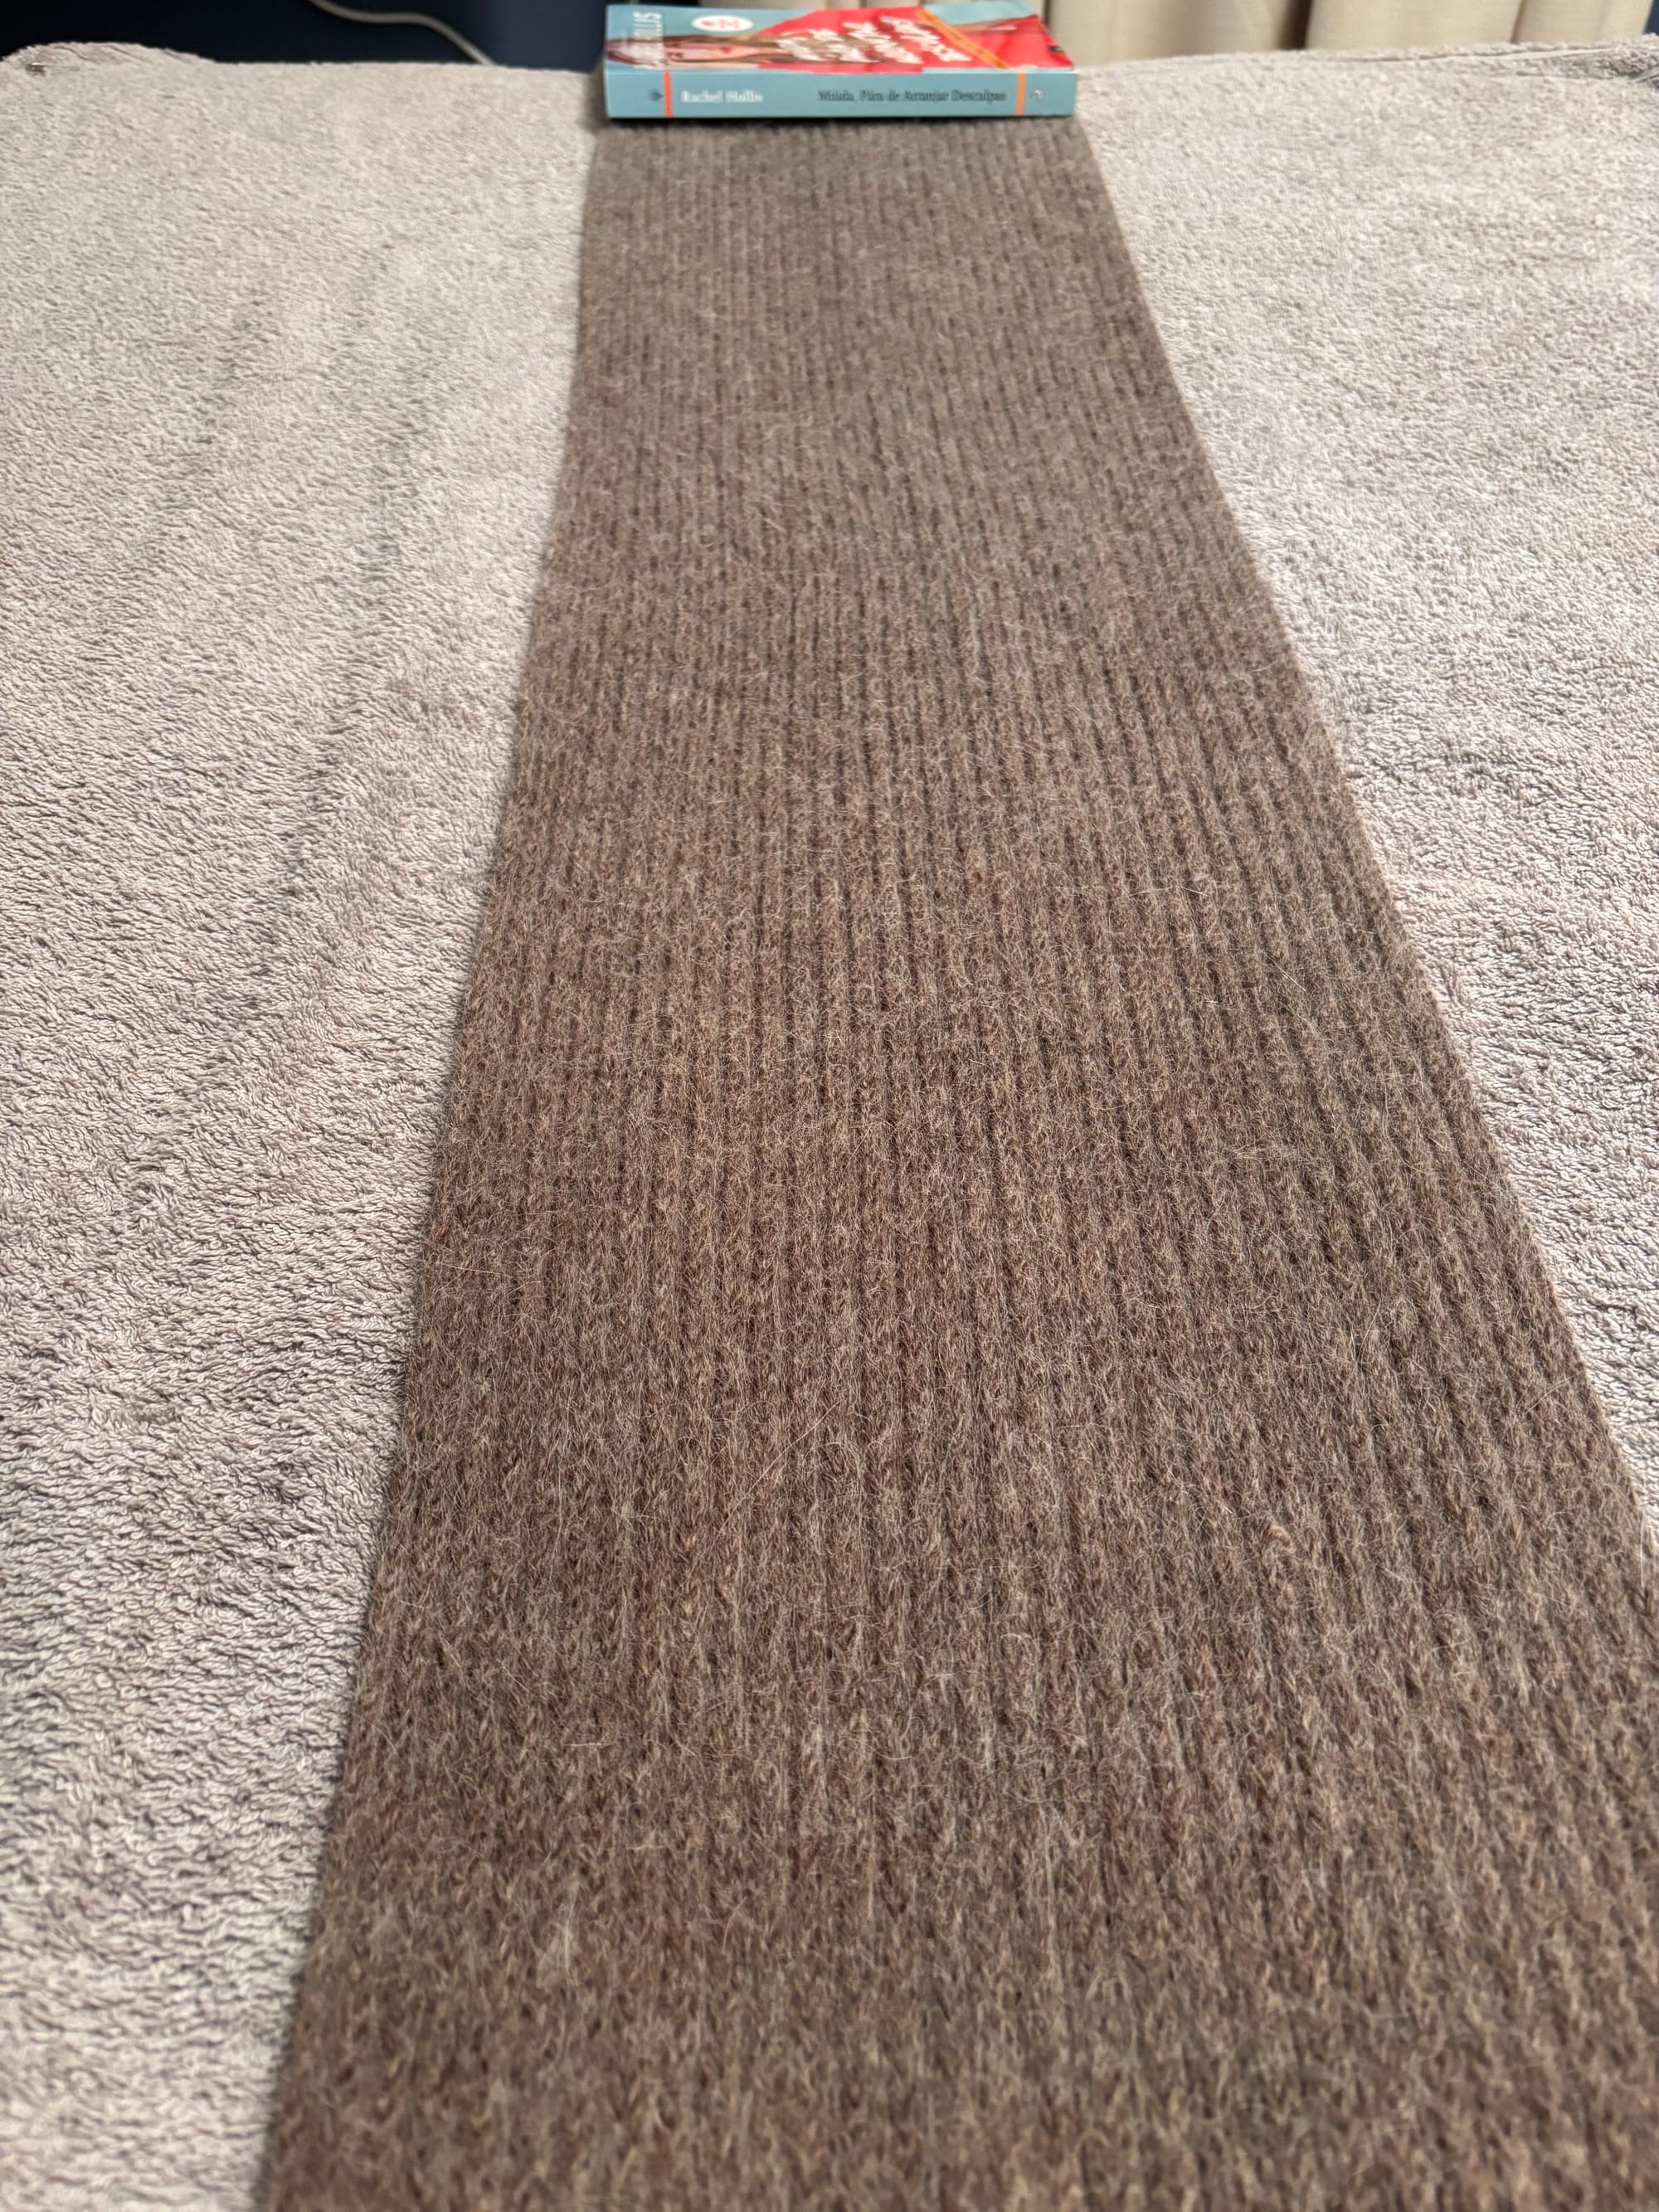
Shaping the garment
I brought the scarf to the bed and pinned it down.
I tried to stretch it as much as I could since length was my goal.

I realized the tips could never be as thin as the middle because the cast on and off is flatter than the ribbed stitch that is naturally compressed.
So I tried to give it a slightly larger shape on the ends that still looked natural with the stretched middle of the scarf. Like a mermaid fin 😂.
Conclusion
This process turned out to be a very fun and revealing experience.
It is nice to know you can almost play with the shapes you want your garment to assume.
It’s incredible what blocking can do. I saw a video of a lace shawl that was all creased when knitted and when the lady blocked it it turned out beautiful and held it’s shape. It was actually a DROP’s tutorial if you want to check it out.
If your garment goes out of shape after wearing you can wash it and block it again. Like doing maintenance over time.
Recap
Materials
- 2 towels
- Pins
- Bed/ carpeted floor/ iron board
Process
- wash garment
- Leave it there to soak (letting the stitches to reorganize and even) and absorb the scent of your laundry softener (optional)
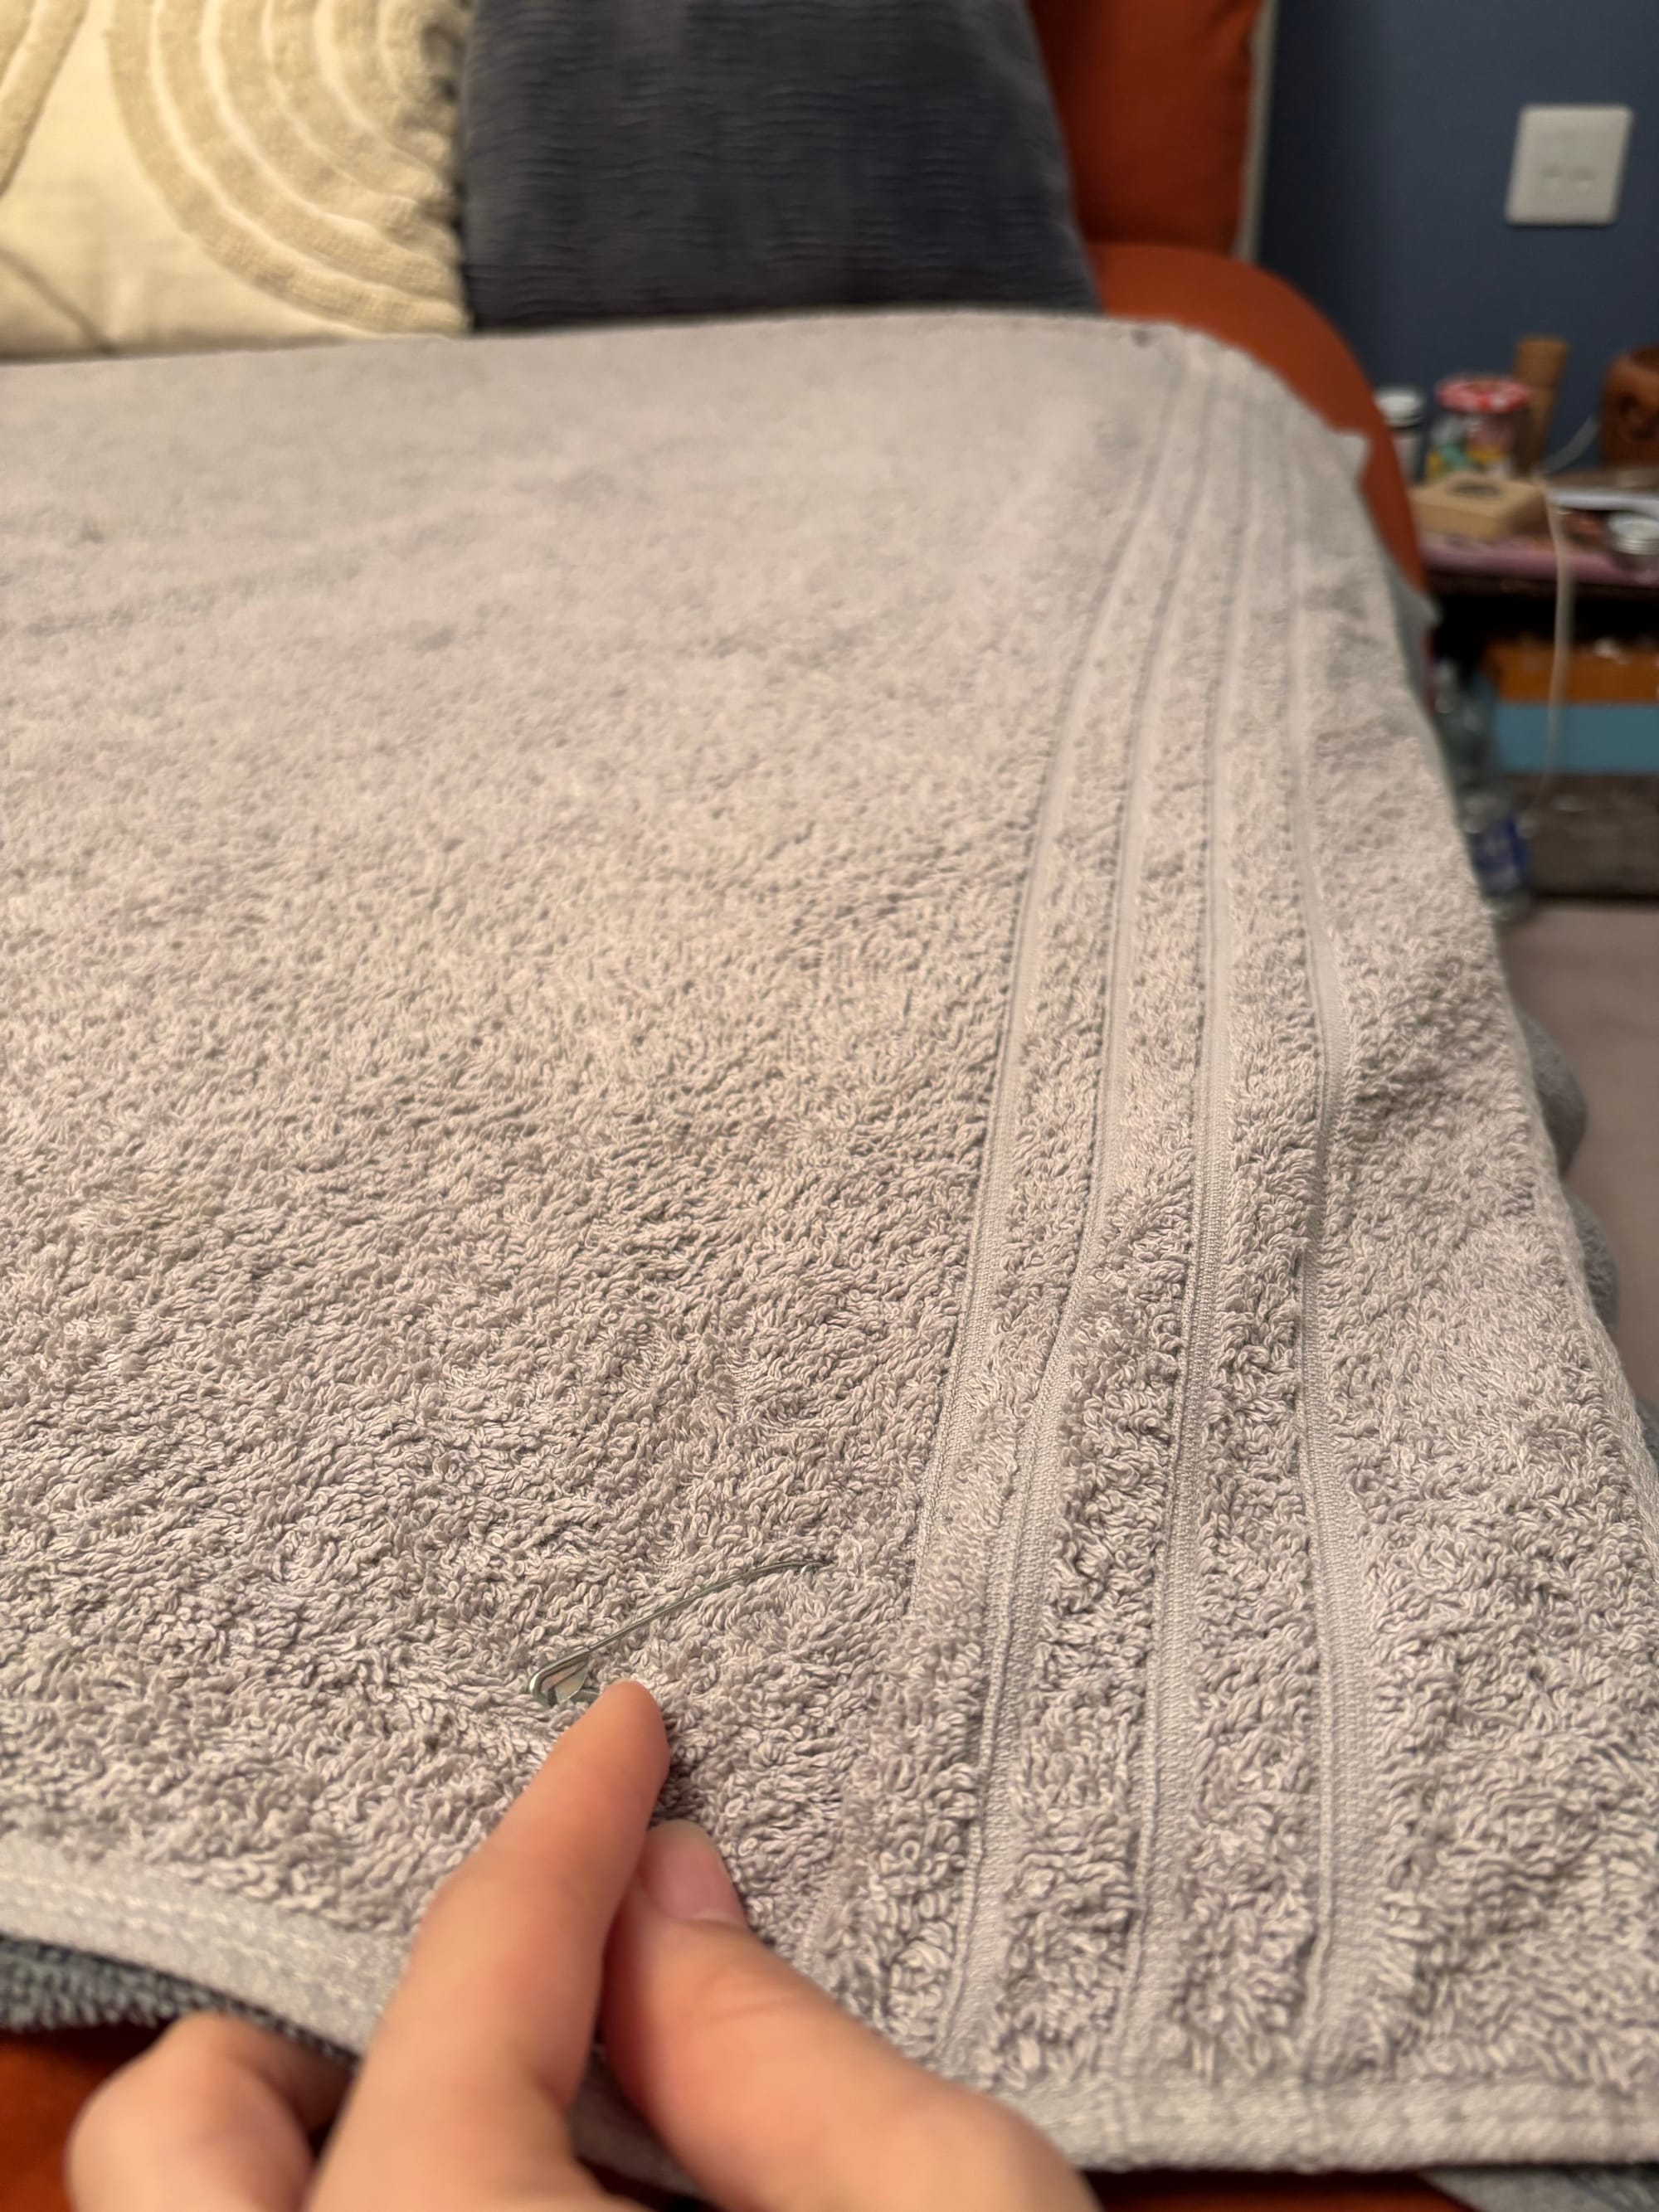
- Prepare bed with towels and pin them down
- Drain water, Squeeze garment , don’t twist
- Bring to bed, pin garment down in the shape you wish and let it dry
I know, ridiculously simple
Good luck ❤️